Tuesday, December 27, 2011


MERRY CHRISTMAS!


Santa was very generous this year...but I did ask for a new quarterback and that unfortunately was NOT under the tree...

Maybe next year =)

Tuesday, December 6, 2011

Howdy Kids,

I'm here to report that we are officially 4 cases of beer richer!

2 of the oatmeal stout and 2 of the VGS (see previous posts to see what that means).  We are going to use some of this beer as holiday gifts, so maybe you, YES YOU could be one of the lucky few to get to drink  some of this liquid deliciousness very soon.  But looking at the blog stats (big shout out to our readers in Russia), you probably won't be.

Anyway, assuming its tasty...we won't know for a few weeks.  Right now its in the bottles getting happy =)

Anyway, here's what we did:


Best Christmas Tree Ever! (All the bottles, freshly sanitized and ready to go)


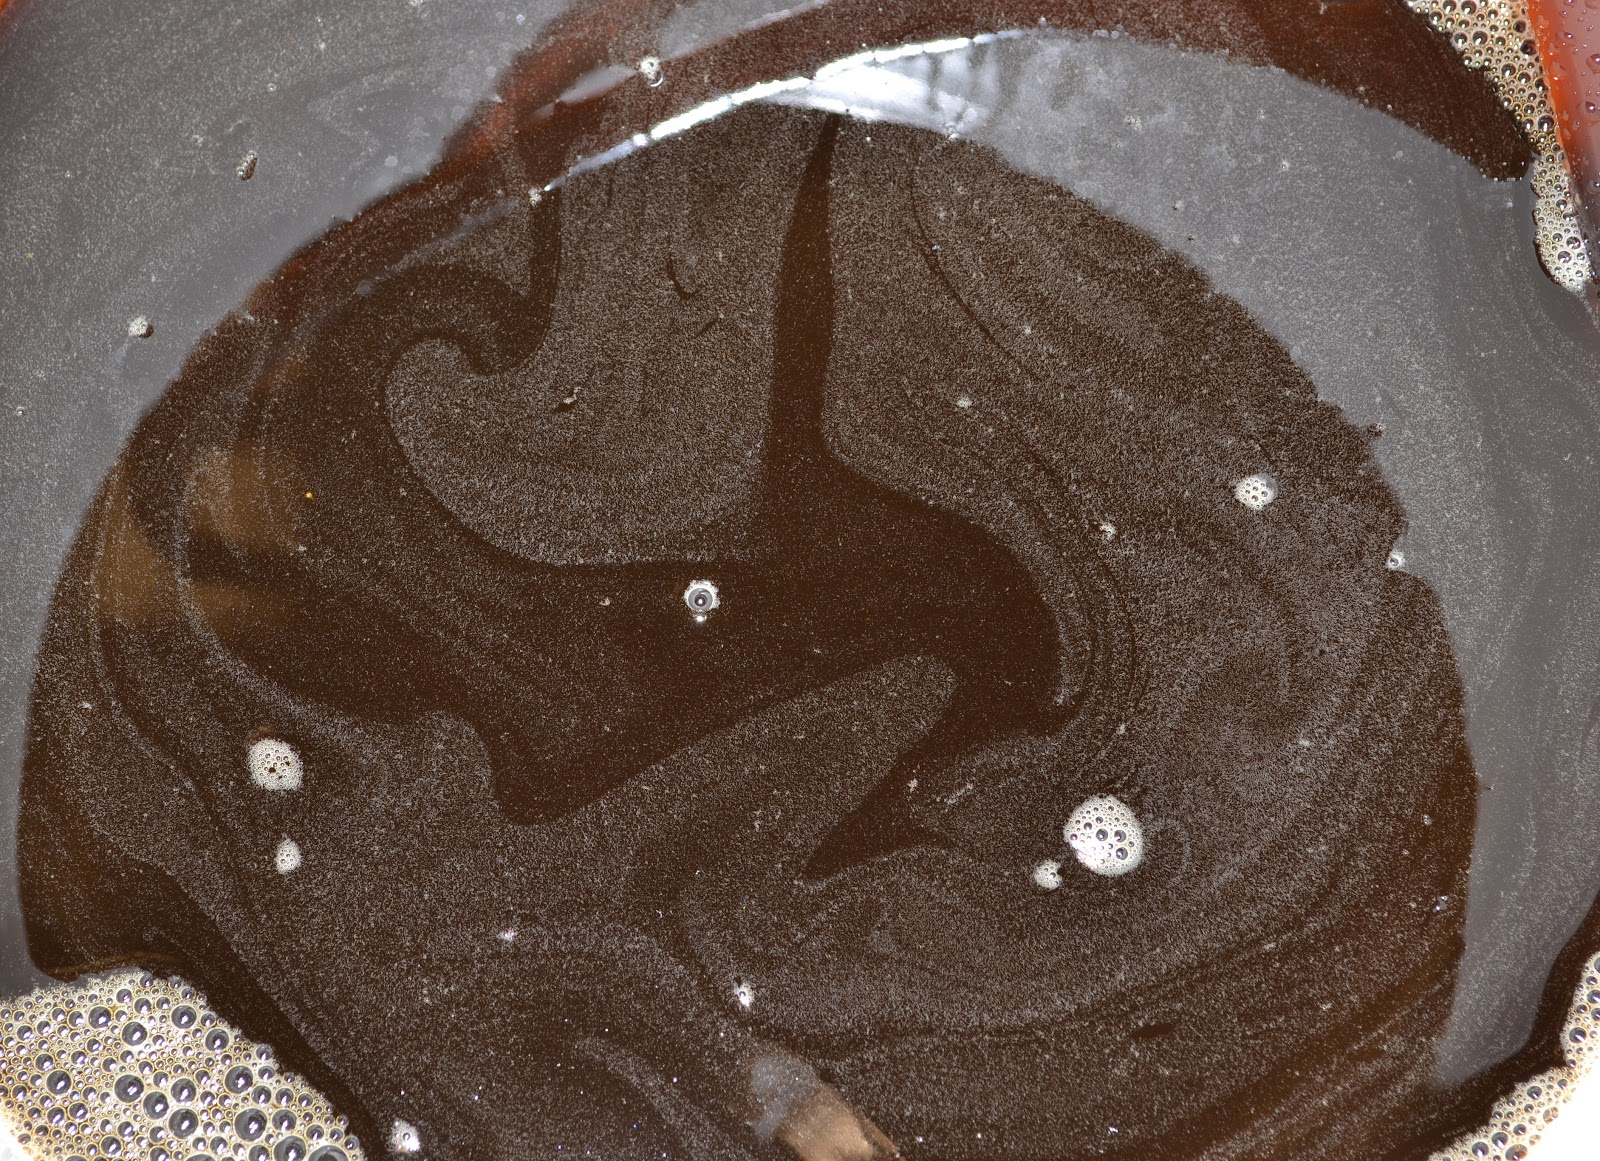
First, we retake the specific gravity of the beer.  Comparing the specific gravity before and after the initial fermentation phase lets us know how much alcohol by volume our beer will have (after some crazy math calculations).


Look at all that stuff on the side of the bucket.  It looks like crap, but it's the residue from the malt and hops that wasn't strained out after the boil.


To bottle, we need to get the young beer out from the fermentation bucket and into a special bottling bucket (aka a bucket with a  spout on the bottom of it).

Happiness

Moving the beer


Then, once the bottling bucket is ready to go, we have to make sure the rest of our supplies are sanitary.

The bottle caps sitting in the iodaphor.  Rule of thumb: SANITIZE EVERYTHING.  IF IT'S IN THE ROOM, SANITIZE IT.  We took it the extra mile, however, and (accidentally) sanitized a random stranger, and he would not stop screaming...

The spout here is for sanitizing and rinsing out the bottles
Getting ready for bottling....


We took the beer from the bucket and slowly filled each bottle one by one.  Yours truly took care of putting all the caps on.

Ta da!  Here's the finished product!


Full trunk!


MERRY CHRISTMAS TO US!

Commence gift giving (aka testing our beer on our unsuspecting Guinea pig friends).  Reviews and reflections to come.

Next up on the hit list, a Winter Ginger Snap Ale.

Tuesday, November 22, 2011

New Toys

Hi there!

I'm very excited to share with you that we officially [and technically] have everything we need to begin brewing beer!

(The crowd goes wild!)

WOOOOOOOOOOO!

Clearly I find this very exciting

Some new toys were purchased this weekend.  Let me introduce to you:


The Grain Mill

Isn't she pretty?


Pick a grain, any grain...


A bottle capper

And some other odds and ends, including the iodophor, bottle caps, more tubing (yes, more tubing), sugars and a bottle washer.   We also bought a starter kit that comes with all of the necessary ingredients so we can have a base to play with (and to ensure all of the equipment works).  We are thinking of tinkering with a holiday beer to start, because hey! tis the season...

Meanwhile, we are still a little short on our homework assignment...


In our defense, we drank mostly wine at this weekend's pre-Thanksgiving meal, and we are still working through the last 2 cases we made at the Flying Barrel (for those of you who care, the Hef we made last time, only got better with time).  So, we're going to have to go to the full court press and start drinking the 22oz bottles (darn =P) in order to be ready to bottle next weekend

So there you have it folks!  We just need a kick a$$ recipe and we are on our way!


Happy Thanksgiving Everyone!!

Sunday, November 13, 2011

Tools of the trade

To give you an idea, here is what we're working with in the condo, compared to the equipment used at The Flying Barrel:

Ours
Theirs...


Ours
Theirs...

Ours
Theirs...


Some of our other equipment includes copious amounts of tubing...


A fermenter bucker (which was purchased directly from The Flying Barrel, so at least we've got that going for us...)


And a big A$$ pot!  This particular one is actually supposed to be for frying turkeys, but the included thermometer and spout made it a good fit for the condo-brewing situation.


The last time we brewed beer, we went home with 2 cases and a growler...pictured here:


Sexeh (c'mon, you know it's true)
So we can use this to bottle any home brews.  However, with the at least 4 cases on their way from The Flying Barrel adventure this weekend, plus any home brewing we intend to start doing, we are going to need a lot of bottles.  So, we're got some work to do!

Don't judge, its a necessary part of the process.  Homework if you will...


A Trip to Flying Barrel!

Hi there,

As much as we are excited to start brewing beer in the comfort of home, we decided to get some tips from the experts...

So we drove up to Frederick, MD to brew some beer on the premises.  If you live in the DC/MD/VA area, I would highly recommend heading up there one afternoon.  Their friendly and knowledgable staff can either hold your hand through each step of the process of leave you alone to do your own thing.  The best part?  They have everything you need on hand to make a large variety of beer and you don't have to do the dishes! (That's what I call a win-win)


Our first step was to choose which beer we were going to brew.  My boyfriend and I went up to The Flying Barrel about a year ago and brewed a German-style Hefeweizen.  This time we were going to brew an oatmeal stout.  No creative name was given to the Hef, but this time around, we are hoping "Oats and Hoes" will be a new favorite.
Next, we measured out our ingredients.  Chocolate malt and roasted barely were added to the grain mill, and the oats were added after the fact, to prevent them from getting mushy.
The Selection of Grains
Flaked Oats


The Chocolate Malt Grains

Weighing our ingredients

Next, we put the grains in a grain bag, and steeped them in our copper kettle like tea.  Then it was time to sparge.  At The Flying Barrel, they take the grain bag out of the kettle, and hot liquid is poured over the grain bag.


Now for my favorite part...adding the malt extract.  For those of you playing at home, liquid malt extract is the beer caramel candy-like stuff I described in a previous post.  Seen here:
Mid-Pour

Liquid Delicious-ness

Time to bring things up to a boil and add the hops.


After all of our ingredients were all happy in the kettle, we poured them into the bucket.


Then it was time to cool things down with the wort chiller in order to add the yeast.


It was at about this point in the afternoon we stumbled upon a recipe that was impossible to resist.  The name of the beer was called...and I'm not making this up..."Vanilla Goat Scrotum".  It was a combination of black patent and 55L crystal grains, light and dark malt extract and of course vanilla.  Another ingredient that was new to me was something called Maltodextrin, which adds sweetness to the beer without being fermentable (because if it ferments, those sugars turn into alcohol...not that that would be the worst thing in the world...)

So, after learning that all the necessary ingredients were on hand, goat scrotum was born....

Because who DOESN'T want to know what THAT tastes like

The boiling goat beer
Or perhaps I'm alone in that thought

Anyway, we made two 5-Gallon batches of beer that afternoon.  We return in 3 weeks (it would normally be 2, but that's Thanksgiving weekend) to bottle!

The Wort Chiller in Action

To be continued...