Tuesday, November 22, 2011

New Toys

Hi there!

I'm very excited to share with you that we officially [and technically] have everything we need to begin brewing beer!

(The crowd goes wild!)

WOOOOOOOOOOO!

Clearly I find this very exciting

Some new toys were purchased this weekend.  Let me introduce to you:


The Grain Mill

Isn't she pretty?


Pick a grain, any grain...


A bottle capper

And some other odds and ends, including the iodophor, bottle caps, more tubing (yes, more tubing), sugars and a bottle washer.   We also bought a starter kit that comes with all of the necessary ingredients so we can have a base to play with (and to ensure all of the equipment works).  We are thinking of tinkering with a holiday beer to start, because hey! tis the season...

Meanwhile, we are still a little short on our homework assignment...


In our defense, we drank mostly wine at this weekend's pre-Thanksgiving meal, and we are still working through the last 2 cases we made at the Flying Barrel (for those of you who care, the Hef we made last time, only got better with time).  So, we're going to have to go to the full court press and start drinking the 22oz bottles (darn =P) in order to be ready to bottle next weekend

So there you have it folks!  We just need a kick a$$ recipe and we are on our way!


Happy Thanksgiving Everyone!!

Sunday, November 13, 2011

Tools of the trade

To give you an idea, here is what we're working with in the condo, compared to the equipment used at The Flying Barrel:

Ours
Theirs...


Ours
Theirs...

Ours
Theirs...


Some of our other equipment includes copious amounts of tubing...


A fermenter bucker (which was purchased directly from The Flying Barrel, so at least we've got that going for us...)


And a big A$$ pot!  This particular one is actually supposed to be for frying turkeys, but the included thermometer and spout made it a good fit for the condo-brewing situation.


The last time we brewed beer, we went home with 2 cases and a growler...pictured here:


Sexeh (c'mon, you know it's true)
So we can use this to bottle any home brews.  However, with the at least 4 cases on their way from The Flying Barrel adventure this weekend, plus any home brewing we intend to start doing, we are going to need a lot of bottles.  So, we're got some work to do!

Don't judge, its a necessary part of the process.  Homework if you will...


A Trip to Flying Barrel!

Hi there,

As much as we are excited to start brewing beer in the comfort of home, we decided to get some tips from the experts...

So we drove up to Frederick, MD to brew some beer on the premises.  If you live in the DC/MD/VA area, I would highly recommend heading up there one afternoon.  Their friendly and knowledgable staff can either hold your hand through each step of the process of leave you alone to do your own thing.  The best part?  They have everything you need on hand to make a large variety of beer and you don't have to do the dishes! (That's what I call a win-win)


Our first step was to choose which beer we were going to brew.  My boyfriend and I went up to The Flying Barrel about a year ago and brewed a German-style Hefeweizen.  This time we were going to brew an oatmeal stout.  No creative name was given to the Hef, but this time around, we are hoping "Oats and Hoes" will be a new favorite.
Next, we measured out our ingredients.  Chocolate malt and roasted barely were added to the grain mill, and the oats were added after the fact, to prevent them from getting mushy.
The Selection of Grains
Flaked Oats


The Chocolate Malt Grains

Weighing our ingredients

Next, we put the grains in a grain bag, and steeped them in our copper kettle like tea.  Then it was time to sparge.  At The Flying Barrel, they take the grain bag out of the kettle, and hot liquid is poured over the grain bag.


Now for my favorite part...adding the malt extract.  For those of you playing at home, liquid malt extract is the beer caramel candy-like stuff I described in a previous post.  Seen here:
Mid-Pour

Liquid Delicious-ness

Time to bring things up to a boil and add the hops.


After all of our ingredients were all happy in the kettle, we poured them into the bucket.


Then it was time to cool things down with the wort chiller in order to add the yeast.


It was at about this point in the afternoon we stumbled upon a recipe that was impossible to resist.  The name of the beer was called...and I'm not making this up..."Vanilla Goat Scrotum".  It was a combination of black patent and 55L crystal grains, light and dark malt extract and of course vanilla.  Another ingredient that was new to me was something called Maltodextrin, which adds sweetness to the beer without being fermentable (because if it ferments, those sugars turn into alcohol...not that that would be the worst thing in the world...)

So, after learning that all the necessary ingredients were on hand, goat scrotum was born....

Because who DOESN'T want to know what THAT tastes like

The boiling goat beer
Or perhaps I'm alone in that thought

Anyway, we made two 5-Gallon batches of beer that afternoon.  We return in 3 weeks (it would normally be 2, but that's Thanksgiving weekend) to bottle!

The Wort Chiller in Action

To be continued...


Thursday, November 10, 2011

A quick lesson in home brewing

Just so you have somewhat of an understanding, let me give you a basic run down of how this is all supposed to work...

1) First you have to bring your water to about 160 degrees.  Typically, a five gallon batch will yield about 2 cases of beer.  Since we only have access to an electric stove, we will most likely be dealing in smaller batches (probably 2-3 gallons)

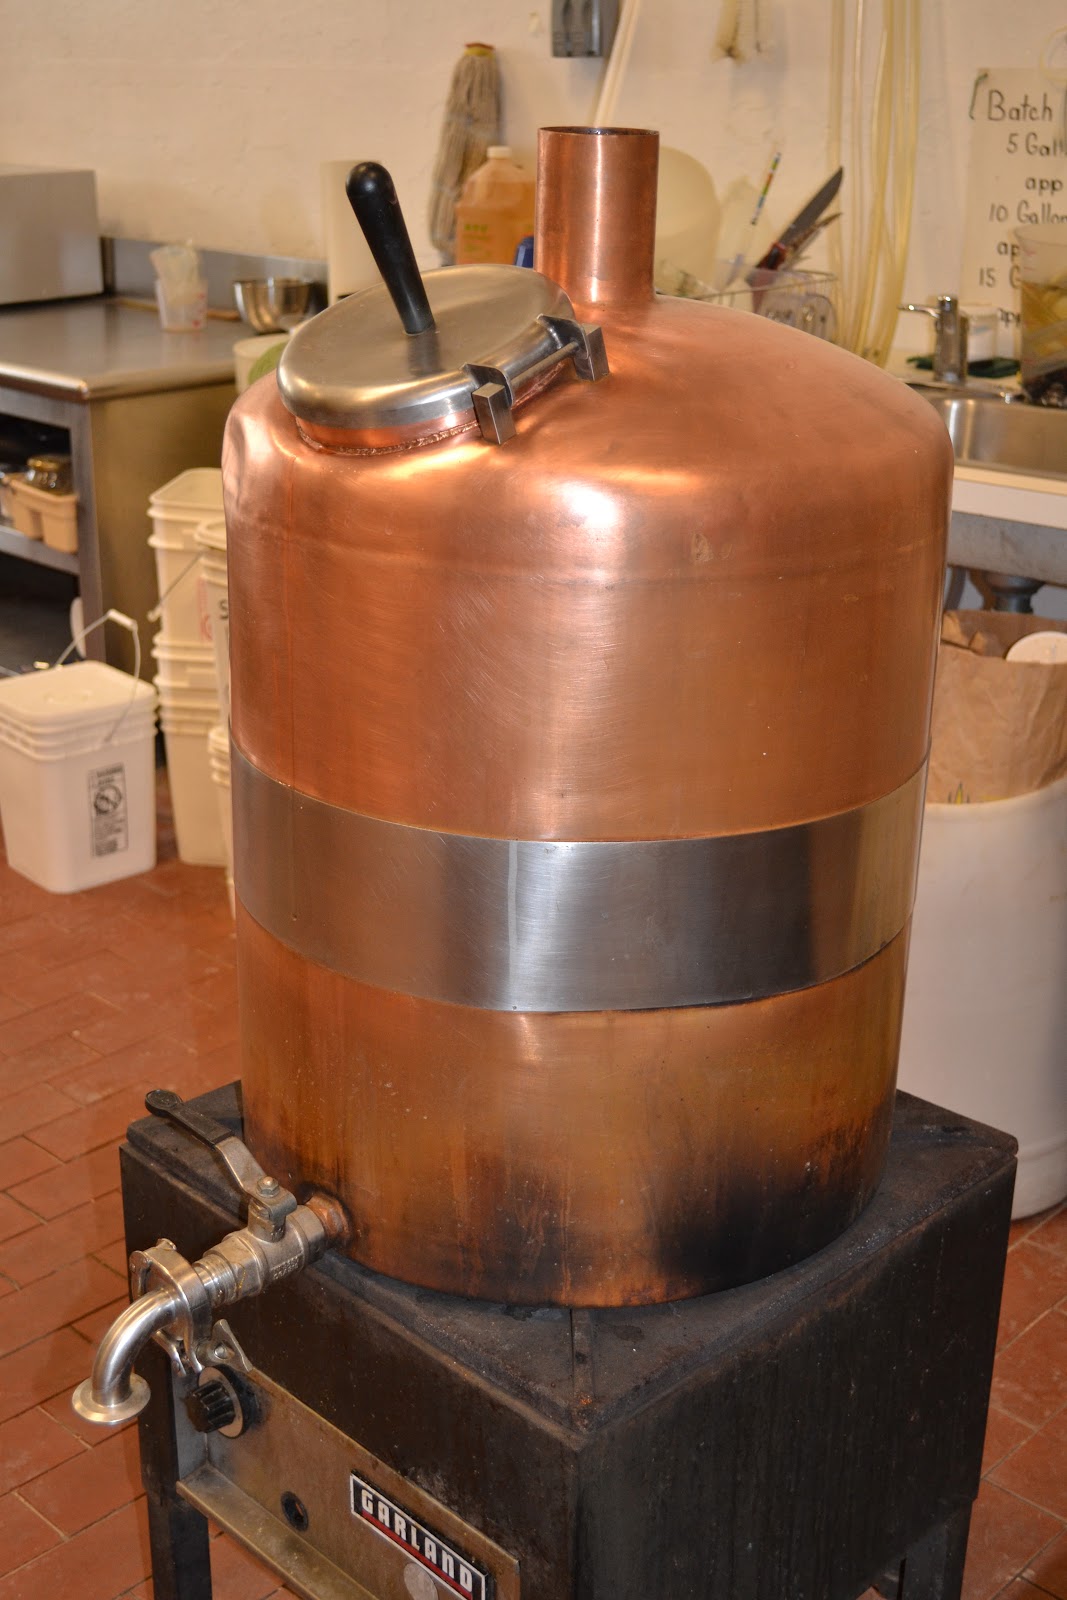
2) Once you've hit 160 degrees, this is where you would add your grains.  The grains usually have to be milled before they are added to your hot water.  This process is called "mashing in" and takes place in a "mash tun".  In our case, the mash tun will be cast by one of those sports coolers that's usually filled with a neon-colored sports drink and on a good day is emptied onto a football coach's head.

Anywho, next it's time to sparge

3) Sparging is the process of extracting sugars from your grains.  For this process you may want to use a second bucket that has been outfitted with a "false bottom" mechanism in it, which is basically a hose that also acts like a strainer.  Fill the bucket with the false bottom with a few inches of water, then add your grain/water mixture to it (basically from bucket 1 to bucket 2).  Once you have added the mash to your bucket with the false bottom/strainer thingy it in it (thingy being a highly technical term), you run the water through that bucket (since it has a spout) and put that mixture back on the stove.  You may have to do this process a few times to make sure you've gotten everything you can out of your grains (basically extracting all the available sugars).  The water with the extracted sugars in it is called wort.

4) Boiling...
Bring the wort mixture to a boil.  Here is where you may want to add any extracts.  In my small experience, I have only used liquid extracts to make beer.  This stuff is what adds a lot of color and sugars (and sugar turns into alcohol, and how can that be bad?) to your beer.  If you haven't had the pleasure of dealing with liquid malt extract, let me give you a small insight.  Picture oozing caramel...now take that, and make it beer flavored.  Sound like the best thing ever?  That's because it just might be....but I digress...

So right as we're coming to a boil, you want to add your extract, if you are using it.  Especially if its the liquid (you can also use dried extracts), you want to be sure to add this sticky stuff to your mixture BEFORE you are at a rolling boil, because if you add it while your wort is too hot, then the liquid extract could sink to the bottom and burn, and nobody wants that.

5) After you come to a boil, this is where you start adding hops.  Beers vary by ingredients, this we know, but there are also an infinite combination of hop types, how much, and how often to add them to your beer.

6) Sanitation, sanitation, sanitation.  This can be an often overlooked step in the brewing process.  Although I find that some of my favorite bars violate about 800 health code violations in a given day, in order to brew good beer, sanitation is crucial.  Everything from the buckets, to your hands, to the scissors you may use to open the yeast packet must be sanitized.  If not, you could infect your beer and your labor of love will be a big waste.  And that would be sad =(

7) Take the hot liquid, which has the grains, extract and hops (plus any other speciality ingredients you may decide to use) in it, and put it in a [sanitized] bucket.  You now need to bring the liquid down to about 80 degrees before you add the yeast, otherwise you'll kill it.  In order to do this, a device known as a wort chiller, which basically looks like a big ol' crazy straw you had a kid, but its made out of copper, can be hooked up to a hose (or in our case, the kitchen/bathroom sink) can be used.  The water runs through the copper tubing, and the coil is submerged in your bucket (you sanitized your wort chiller first through right?)  Once the liquid has cooled, add your yeast, seal her up and put her away for 2 weeks.

8) 2 weeks later, open her up and add some corn sugar to your liquid.  This helps in the formation of CO2 (bubbles!).  From here, put the almost-beer in your favorite drinking receptacle and wait some more (about another 2 weeks)

I didn't say this was a quick process...you're almost there, because step 9 is...

9) DRINK UP!

Sunday at the hardware store

Literally

All day

Ok, maybe not all day

So it turns out, that despite a large amount of online research, most of which says that "brewing at home is easy and fun!  See this cooler?  POOF! Now its a beer making machine!!"

Yeaaaaaa, not so much

So dozens of small, suggestively named plumbing parts, multiple yards of tubing, 2 coolers, 2 hardware stores and 1 return of 1/2 said parts later we were in business

Sorta

We had 2 coolers and a bucket and we were able to make a mash tun with a false bottom and a wort chiller out of copper piping and a hose (look at me sounding like I know what I'm talking about!)

However, the current challenge is how we are going to hook it up to the bathroom sink.  Fitting the brass nipples (giggle) in the holes in the cooler is proving to be a challenge, since the measures may or may not have changed and the seal isn't as solid as we would like.

Time to figure this one out

Hey...

"Could you grab me a cold one?"

Such a simple phrase.

So many delectable thoughts come to mind.  The crisp, cool taste.  The rich flavors.  The smooth texture.  The bitter, hoppy-ness

It's awesome, and you know it.

So when my boyfriend came to me and said "I want to learn how to brew beer...from home"

Well that was music to my ears

So this is a tale, of a guy and a girl and a dream to brew beer in a spare bathroom