Thursday, January 26, 2012

Bottling at Home

Our very first, fully/actually brewed at home, homebrew is ready for bottling!


[And there was much rejoicing]

First thing we did was run 2 cases of bottles through the dishwasher, to make sure we got any/all sediment out of them (would hate for all of that hard work to lead to skunky beer...)

All lined up and ready to go


Oh! and more good news, we got the auto-syphon working!  Check out it in action (note the awesome multi-tasking as well...watching Sunday Football and beer stuffs, not a bad weekend eh?)


Beer entering the bottling bucket


Bottling station prepped and ready


Leftovers in the carboy


Ok kids, full disclosure, we had a little brain fart with the priming sugar.  We forgot to add it to some water and heat it up BEFORE putting in the bucket.  Above is what happened when we put the priming sugar directly into the bucket in its solid/powdered form.  I must say, it had a nice creamy head (pictured above), almost like a Guinness, but turns out we weren't supposed to do that!  Fortunately, we went a little light on the priming sugar (in order to avoid over-carbonation like our last 2 batches), so we wound up adding a little more after disolving it in water properly.  Should be interesting to see how to turns out.

In the meantime, safety first!  The two cases of hot-tiddie ale are currently sitting in the spare bathroom shower, just in case we have any explosions or other mishaps.  Cleaning beer off the walls can't be fun, and frankly, I don't want to find out.

Taste test to come in a few weeks.  Will the priming-sugar-brain-fart be a non-issue?  Did we accidentally over-carbonate AGAIN?  Will the beer be totally flat?  Only one way to find out...

Ornery Bastard

Thats my new nickname for Gromit...

Between the constant handling with care, the special equipment required and the fussing, brewing beer at home is kind of like taking care of a small child.

Hear me out...

This past Saturday, after taking the cherry witbier home (which, by the way, was straped in the backseat with a seatbelt!) we brought it in the house and placed it next to our other fermenting brew.  They were getting along nicely and we decided to pack it in for the night.

Early the next morning, it was discovered that Gromit had a bad night.  The convo went something like this (mind you, this is 630am on a Sunday morning)

D: "Did you hear that?"

Lo (ready to jump out the front window to avoid intruders, or take them on with a nearby nine iron): "Hear what?!"

D: "that noise..."

Lo (still petrified and confused as hell): "no?"

D (gets up, walks into the other room): "Lo, you have to come see this!"

Lo (begrudgingly getting out of bed while 1/2 asleep): *grumble-something unintelligible-grumble*

D: "The beer is about to explode"

Ok, now you have my full attention.  And he wasn't wrong.  The top of the fermenting bucket had puffed up like a potato chip bag on an airplane and the airlock was fun of sandy-brown, yeasty foam.  The air attempting to escape was making a faint whistling/hissing noise.

(If I learned anything that day, it's that I need to get my hearing checked.)

Gromit!  You Ornery Bastard!

D proceeded to haul the bucket into the shower, and release the pressure from the airlock.  I'm happy to say (although its not very entertaining), no major explosion occured.  The airlock was rinsed out, and placed back on top of the lid.  I actually took pictures of this, but I was so sleepy that they came out blurry =/

So this beer, got us out of bed at (for me) an ungodly hour on a Sunday morning.  The airlock also needed to be constantly changed throughout the day, because it kept filling up with foam.

So reconsider my point...brewing beer certainly has parallels to taking care of a baby!

I'm happy to report that since that day of constant attention, Gromit is now acting normally.  Transfer to second fermentation along with the exciting addition of black cherry concentrate to come this weekend.

Only if he behaves

Wednesday, January 25, 2012

Back to Flying Barrel!


This weekend we went back to the Flying Barrel to get ahead start on our spring beer.  We brought our own recipe this time, so we wouldnt be tempted by odd recipes named after animal reproductive organs...


We decided to brew a Belgian style Witbier that we'll eventually flavor with black cherry concentrate.  Something light and fruity, perfect for the warm[ing] weather.

The recipe called for flaked oats for the initual phase.  That's it.  No other specialty grains.  Just your typical breakfast

After we let that steep for awhile, we sparged and then added 7 lbs of extract


We were moving right along.  Actling like veterans.  We were sampling other brewer's handywork, laughing it up and generally having a grand ol' time


Sure, there was the occasional question, but for the most part, we were flying solo...

After the malt extract boiled for 40 mins or so, we added the flavorings.  Some bitter orange peel and corriander seeds

Look familiar?


Anyway, after the long drive (its about a 90 min drive for us, although that's with the customary donut stop), we were just about done...


All we had left to do, was to seal her up and put on the airlock...


And thats when it happened.


Normally, the airlock (pictured above), sits in a little rubber grommet that is in the lid of the fermenting bucket.  It's purpose is to act as an escape hatch for the air the yeast produces.  As we were trying to place the airlock into the hole, the rubber grommet FELL IN THE BUCKET!


oops


See, this is where the rubber grommet is SUPPOSED to be.  But nope, not ours, it sunk like a brick 

Can't go fishing for that sucker...

This is why it is so, so, SO important to santize everything, because folks, when it comes to beer making, anything can go wrong.

To answer your question (assuming you are trembling wtih anticipation), it's still in there.  Hanging out in the beer while it's in the primary fermentation phase.


After obtaining a new lid, we sealed it up and brought it home.  It's hanging out wtih our brewed-at-home "Hot Toddie" ale (seen here in the carboy during its secondary fermentation stage)

The beer, which will be appropriately named "Gromit" (yes, also after the British clay-mation character) is home.  Until then, I present to you some beer wisdom:

Wednesday, January 18, 2012

Some New Additions...

I'm please to introduce to you the newest member of our beer-making family...


This is the carboy we ordered to help us in the fermenting process.  We can take the sediment-y beer (is that a word?  Is now) and put it in here to continue to get happy, without all the grimy stuff hanging out  with it.

Technically speaking of course

The first challenge was how to get all that liquid into that small opening.  Normally, with properly functioning equipment, an auto siphon is the perfect way to go.  A few pumps and you're good to go (hopefully this is the only place in your life you will proceed this way (zing!))  However, please note that I mention the equipment needs to be working properly.  Our auto siphon seemed to exhibit some technical difficulties, leading us to come up with a plan B.


Auto-siphon fail!


May I now introduce you to Plan B.  

The use of an intermediary bucket.  We let the primary fermenter drain through a strainer into what would normally be our bottling bucket.  We liked the use of a bottling bucket because it had a nozzle on the bottom of it, which would help us get it into the carboy


Ta-Da!


I'd like to take this opportunity to present a PSA with regards to home brewing.  If you don't like doing dishes, this may not be the hobby for you.  The "dishes"are a lot bigger, leading to coming with creative solutions when it comes to washing them.


Fun Times


Finally, we got a beer fridge.  Well, technically two, since the first one we bought was so oddly shaped on the inside that about 6 beers fit in the entire thing.  So, we bought a bigger, much more functional one.  

Doesn't mean I'm not going to have wayyyyyy too much fun with the dry erase door


Sunday, January 8, 2012

Breaking in the Equipment


Hi there everyone!

So yesterday, for the FIRST time since we started putting together this little project, we made beer at home =) 

Here's what happened:


Just like at the 'Flying Barrel" we started by heating up a large amount of water.  Since the water would still be heating up as I type this on the electric stove top, we brought only 2.5 gallons (vs. 5 gallons) of water to a boil.  We added the remaining 2.5 gallons during the cool down phase.


This was our handy, dandy measuring cup.


The iodophor, waiting to be used to santize everything!  At least the kitchen is really, really clean now


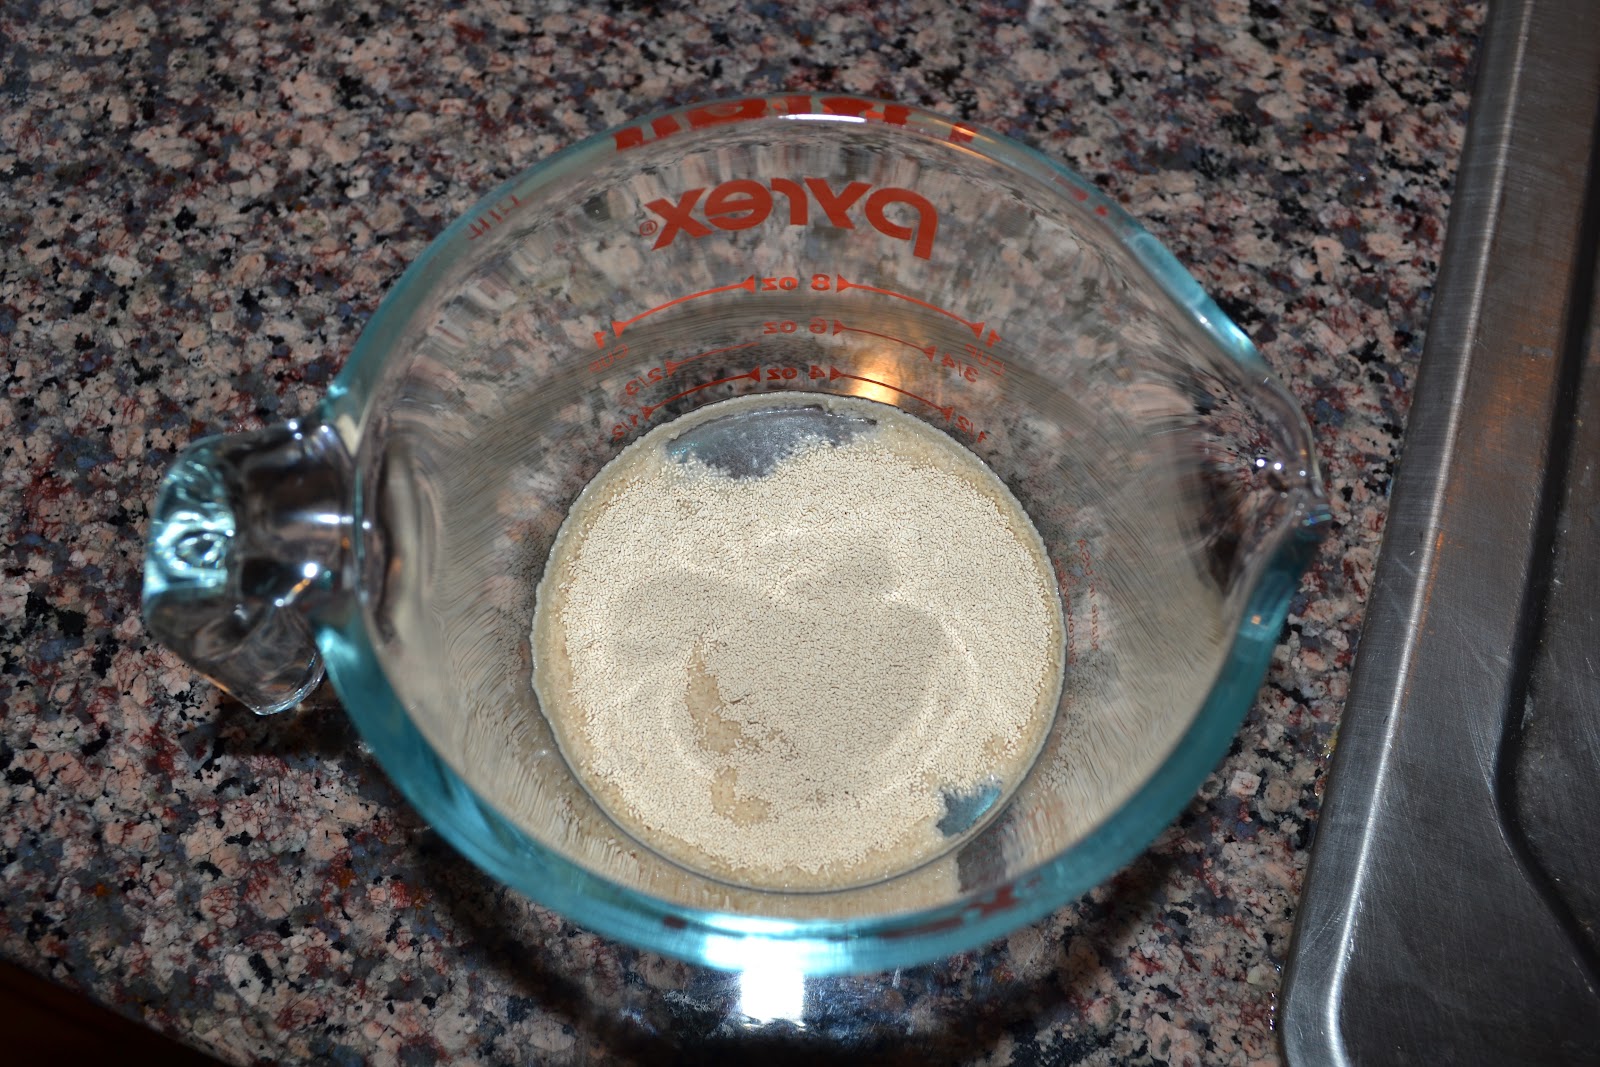
The yeast, getting happy and doing its thing (more on this in a few...)

The sack of grains used for this holiday medley of deliciousness.  Basically a giant tea bag


And there it goes into the pot!


This move may look familiar from the Flying Barrel pictures (because you are all avid readers of this awesome blog and therefore you have seen this in an earlier post...right? right!)  For those of you who are catching up, this is called the SPARGE.  It's where you fish out that big ol' tea bag, and rinse it with your wort (or tea...to continue the analogy) in order to get the full amount of deliciousness (technical term) out of your grains.


At this point, we boiled our beer for about an hour.  During that time, we began to look at our "happy" yeast suspiciously...


It was taking on a life of its own...growing and growing like bread dough.  We aren't sure if we may have awoken our yeasty friend from its slumber a bit too early in this process, but a lack of bubbles in the fermenter this evening will be a pretty good indicator that we killed it.  For those of you who know me,  you also know that I have killed many a house plant, so the yeast murder should come as no surprise.


Bubbling away...


Reminder kids...that's a turkey fryer! 

Now that the boil is complete, its time to cool down the beer and add it to the fermenter.  It is important to do this in a somewhat quick manner, which is why the wort chiller was born.  To continue with our ad-hoc approach to making beer, we bring you our workshop...aka the bathroom.  


The wort chiller is a series of tubing/piping that water moves through.  As the water moves through the piping, the liquid surrounding the copper pipe cools down.  The picture above shows where the tap water goes in!  A "simple" bathroom sink adapter was all that was needed connect the sink to the hose.  I use the "" because that damn thing was a huge pain in the A$$ to make.  Moving on...


Here is our homemade wort chiller in action.  Just some refridgerator copper pipe wrapped around a paint can to create its shape.  The water from the sink is running through that pipe, cooling our beer down.


Our beer on the bathroom floor


The water moves from the sink, through the copper spiral and finally out another tube that conveiently ends in the shower

Remember all that tubing we bought from every hardware store in the DC/MD/VA area?  Well here it is!  Curving its way throughout the bathroom.

Taking the beer's temperature (and yes, we do feel cool using an infrared thermometer...ain't gonna lie).  We needed to get it down to 70 degrees before adding the yeast


MMM...delicious


After we cooled it down, we strained it into the fermenter and we will let it sit for a little less than a week.  Something new that we are going to try is a second phase ferment, which is where we will take the beer from the container pictured above and put into another container.  To continue with the tea analogy, if you let a tea bag sit in your mug for too long, it can get nasty tasting...and the same effect can happen from too much sediment hanging around in the beer.  So in order to eliminate some of those potentially pungent flavors, we are going to move it into a second container at the end of the week


Tune in next to find out: did Lo kill yeasty?  Will the smell of hops ever fade in the shower? And will we ever find a use for the other 45 feet of plastic tubing we having lying around?!